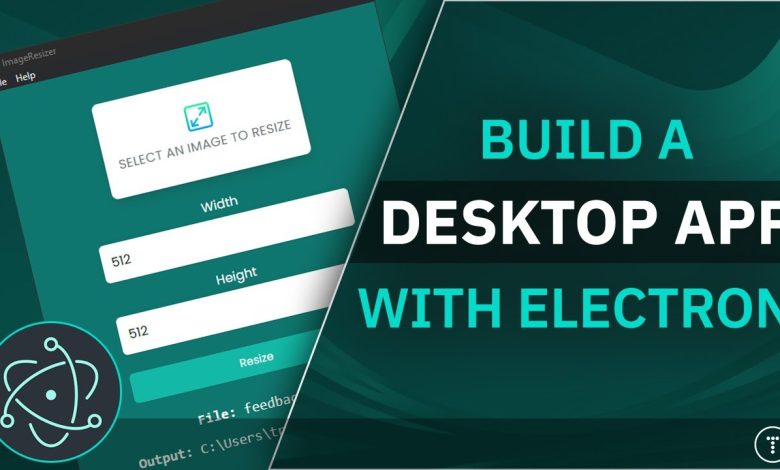
How to Build Desktop Apps with Electron.js

In the modern software landscape, cross-platform desktop applications are in high demand. Electron.js allows developers to build desktop apps for Windows, macOS, and Linux using familiar web technologies: HTML, CSS, and JavaScript.
Popular apps like Visual Studio Code, Slack, and Discord are built with Electron, demonstrating its power and flexibility. In this guide, we’ll explore how to get started with Electron.js, set up your environment, and build your first desktop application.
1. What Is Electron.js?
Electron.js is a framework that combines Node.js and Chromium:
- Node.js → Handles backend logic and system operations.
- Chromium → Renders the frontend using web technologies.
Key features:
- Cross-platform compatibility
- Access to native OS APIs
- Easy integration with JavaScript libraries
2. Setting Up Your Environment
To start building Electron apps, you need:
- Node.js and npm – Install the latest LTS version.
- Code Editor – VS Code is recommended.
- Electron package – Installed via npm.
3. Creating Your First Electron Project
- Create a new project folder:
- Install Electron as a development dependency:
- Create the project structure:
4. Understanding the Project Structure
- main.js → Main process that controls app lifecycle and native functionality.
- index.html → UI for the app.
- renderer.js (optional) → Handles frontend logic.
5. Writing Your First Electron App
main.js:
index.html:
Run the app:
You’ll see a desktop window displaying “Hello, Electron!”
6. Adding Interactivity with Renderer Process
Create renderer.js to handle frontend logic:
Add a button to index.html:
7. Packaging Your App for Distribution
Use electron-packager or electron-builder:
This creates a standalone executable for Windows. Similar commands exist for macOS and Linux.
8. Integrating Native Features
Electron allows access to system APIs:
-
File system (
fsmodule) - Notifications
- Menus and tray icons
- Clipboard and clipboard events
Example: Showing a system notification:
9. Tips for Optimizing Electron Apps
- Minimize memory usage → Avoid unnecessary background processes.
- Reduce bundle size → Use tree-shaking and remove unused libraries.
- Enable auto-updates → Keep users on the latest version.
- Handle crashes gracefully → Use crashReporter module.
10. Conclusion
Electron.js empowers web developers to create cross-platform desktop applications using familiar technologies. With Node.js integration and access to native APIs, it’s possible to build high-performance, feature-rich apps for multiple platforms.
Starting with a simple “Hello, Electron!” app, you can gradually expand your app with interactivity, native features, and packaged distribution, bringing your desktop app ideas to life.

